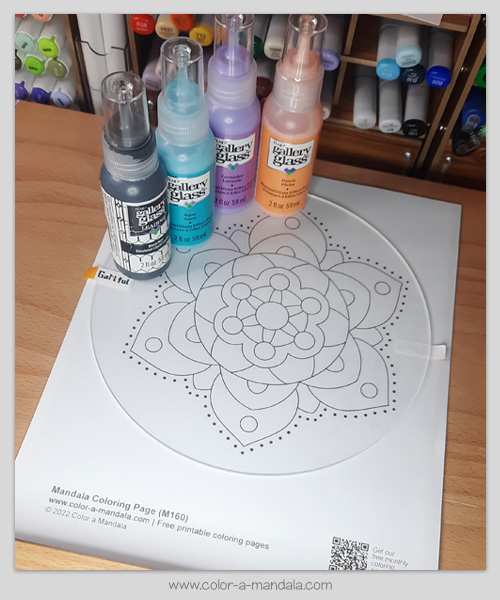
I’ve been thinking about alternative uses for coloring pages lately. Sometimes it’s fun to experiment with other coloring methods. I’ve been wanting to try stained glass paints, and I thought it might be cool to do something with them and coloring pages.
So, let’s use a coloring page to make a faux stained glass suncatcher!
For this project, we will use a coloring page as a template.
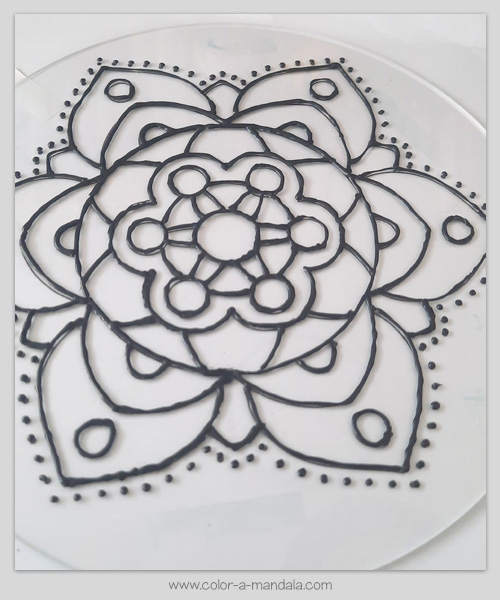
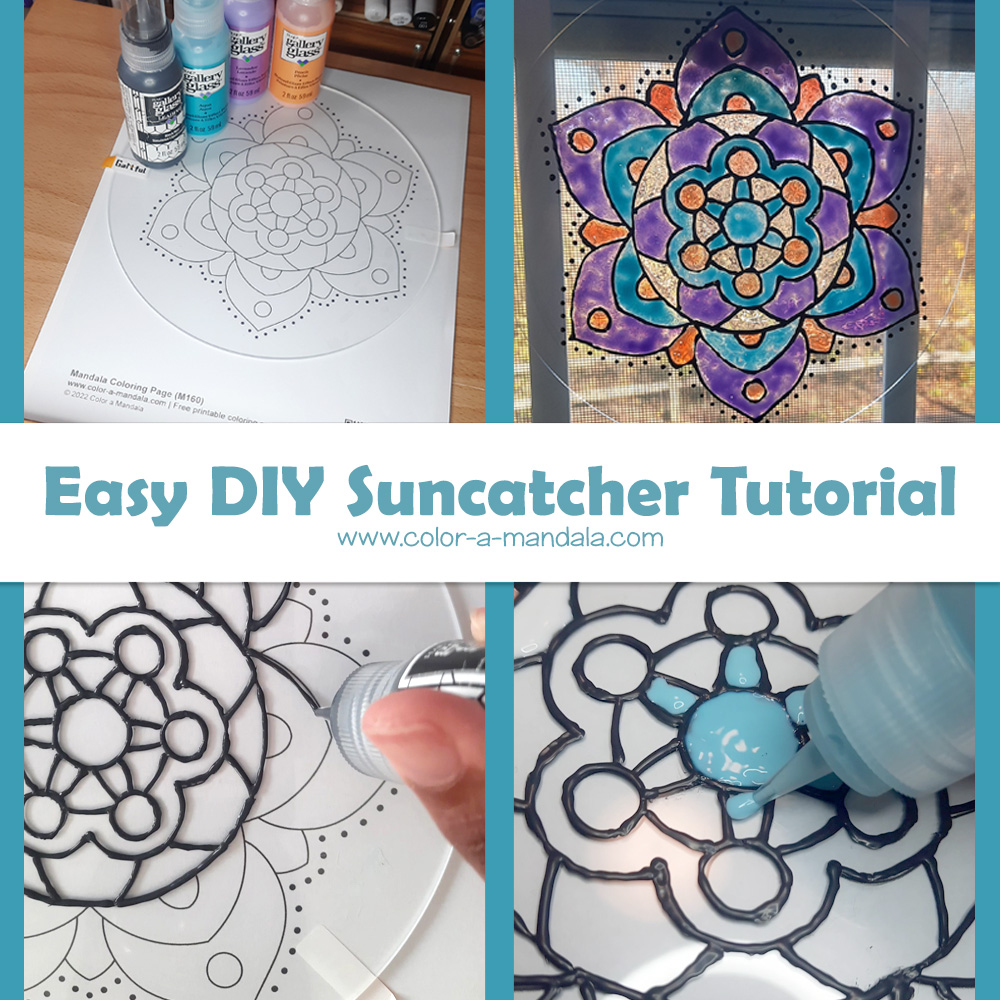
We’ll trace the coloring page’s design onto a clear plexiglass disk. Then we will use glass paint to color in the design.
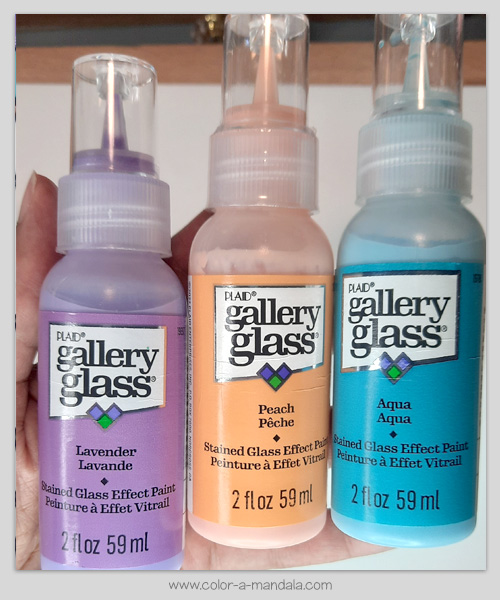
I wanted a paint that had the translucency of stained glass. I chose Gallery Glass Paints because they are for making a stained glass effect. Gallery Glass Paints can be used on both acrylic plexiglass and real glass. We’re using plexiglass because it is basically clear plastic and is much more durable than real glass.
Supplies
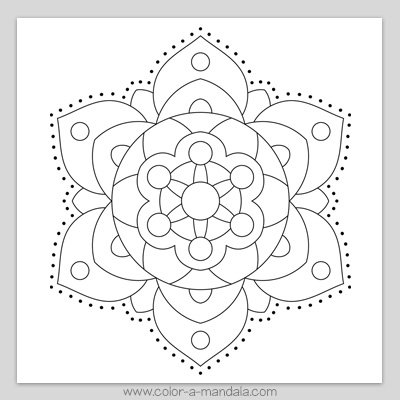
Coloring page: I used the Mandala Coloring Page (M0160). Click the photo to download a printable pdf file. (Note: You can use any coloring page for this project. Simple designs without a lot of detail are best. If you pick a coloring page that is another size, make sure you choose an acrylic circle that fits it. )
The following supplies have links to Amazon:
- Gallery Glass Paints by Plaid. They come both separately and as sets with the liquid leading included. The set I used was: Gallery Glass Pastels, 8 Piece kit
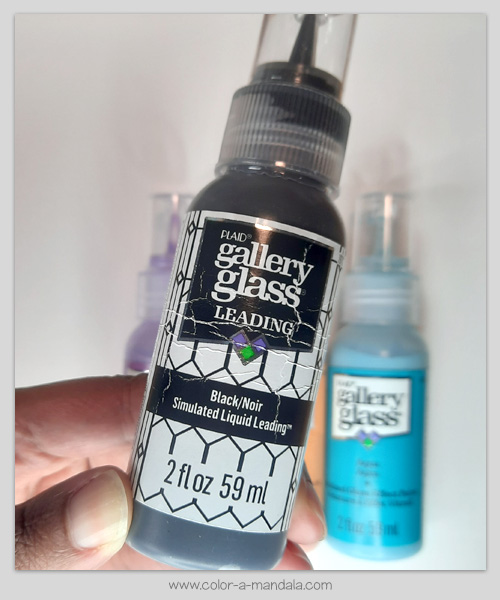
- Gallery Glass Simulated Liquid Leading by Plaid (You only need this if you didn’t buy a set of colors that included leading.)
- 8 inch Clear Acrylic (Plexiglass) Disk
You’ll also want some:
- Double sided tape
- Optional: String and clear packing tape to make a hanger.
How to make a Suncatcher
- Print out a coloring page onto a piece of paper. The coloring page will be your template for the design.

- Attach the coloring page to the acrylic disk.
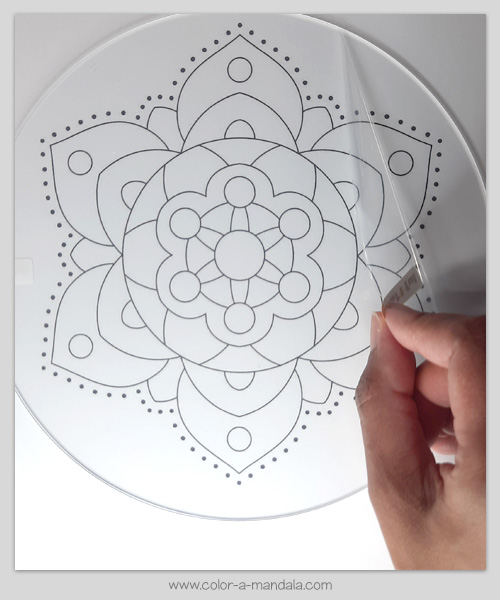
The acrylic disk will most likely have a removable clear protective covering on it. Don’t remove the protective covering yet.
Use double sided tape to attach the coloring page directly to the clear film covering the bottom of the acrylic disk. This will keep the paper from shifting while you are tracing the design onto the acrylic. It will also keep the adhesive off the disk. - Peel off the protecting covering from the top of the clear disk.

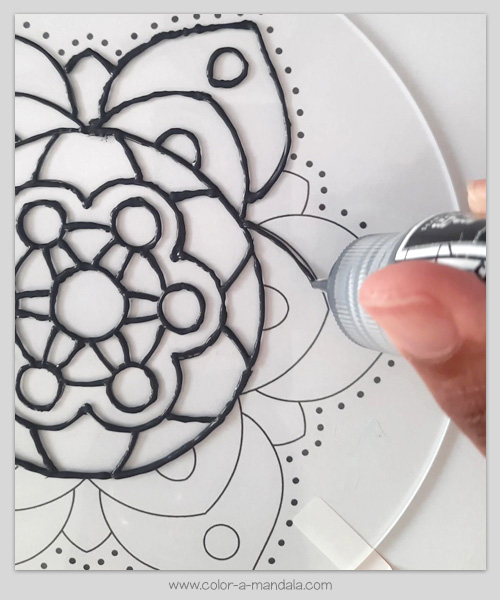
- Trace the coloring page design directly onto the top of the clear disk using the Gallery Glass Liquid Leading.

Practice on a piece of paper beforehand so you can figure how hard you need to squeeze the bottle to get the type of line that you like. If you need to wipe it off, do it before it dries. I use a q-tip to wipe away mistakes.
- Let the Liquid Leading dry. I let mine dry for 24 hours.

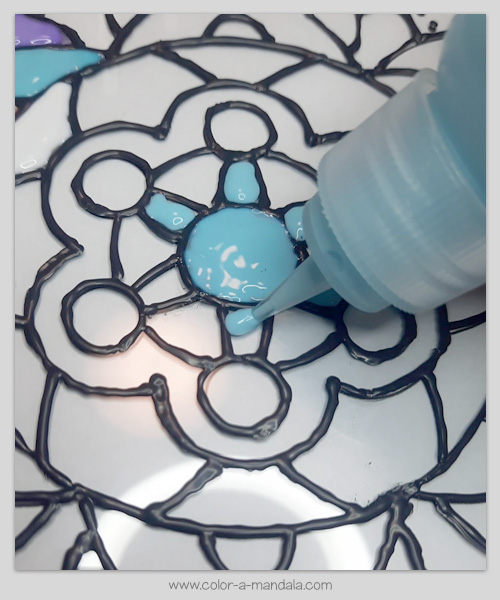
- Color the design with the Gallery Glass Paints.

Fill in each section with the glass paint. The glass paints are thick, and the black leading lines will help to hold the paint in each section. (Don’t shake the paint bottle, or you’ll get air bubbles. It’s not very easy to remove air bubbles if you get them in the project, but I found most of them went away on their own while the paint was drying.)
- When you are finished, allow the paint to dry for at least 24 hours before handling it. Remove the coloring page and peel off the clear protective film that was on the bottom of the disk. Although it is dry, the paint will take 7 days to fully cure.

- Optional: How to hang your finished Suncatcher
I tried to drill a hole in my suncatcher to hang it, and it cracked accidentally. (Oops!) If you want to drill a hole, do it very carefully before you paint, so you won’t risk ruining your artwork!
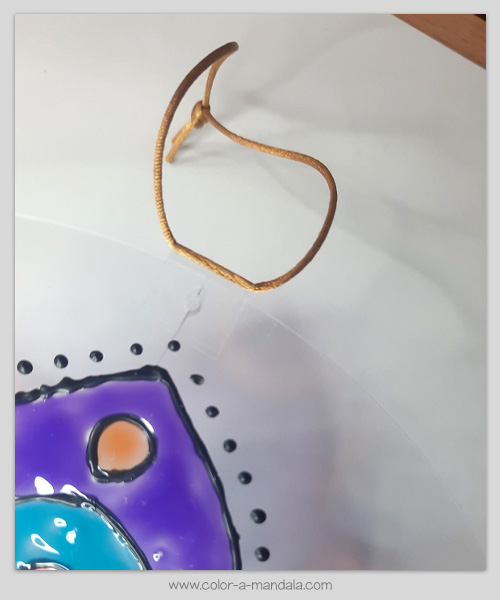
So….I came up with a workaround for hanging. I taped a string to edge of the disk with clear packing tape. It worked great, and I could barely see the tape.
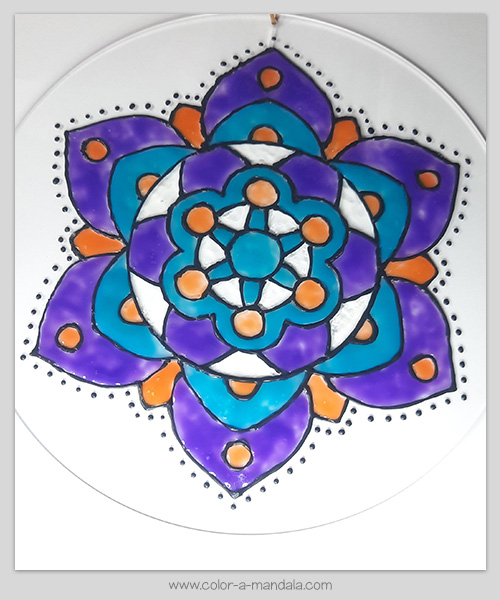
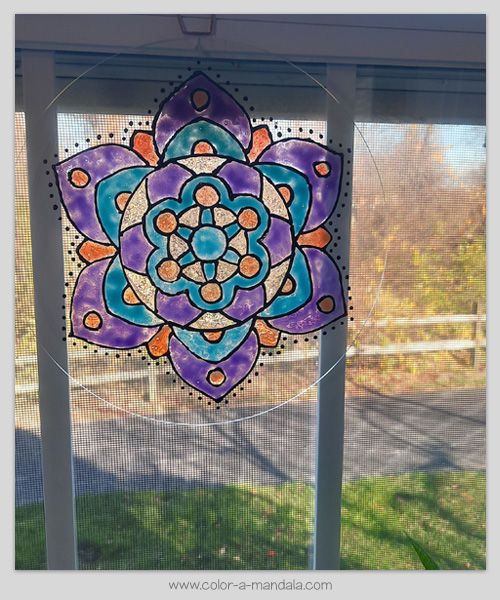
And here’s the final project!
When I do this again, I think I will lay the colors a little thicker so that the colors look a little more consistent when the light shines through them.
However, this was a pretty easy project and a fun alternative to paper when coloring in a coloring page!

